One of the first things divers learn about in the Open Water course is buoyancy control. There are three main components to it: the buoyancy compensator (BCD), lung volume, and ballast (dive weights). Although most divers know they require dive weights to safely dive, many don’t know how to properly weight themselves. The most common mistake is that they add too much weight and waste air compensating for it. The second is not adjusting the weight in response to the changes in equipment and environment.
How do you properly weight yourself for scuba diving? You need to perform a buoyancy check by following these three steps: 1) A pre-dive weight check, 2) A post-dive weight check, and 3) Optimize the weights until you achieve the right balance. A lot of trial and error is required, especially if the conditions change. You should not use the same weights each time without checking. A good starting point is to take 10% of your bodyweight and add 1kg / 2 lbs to that weight for saltwater diving. Use 2/3rds of that weight for freshwater where it’s less buoyant. Then adjust from there, adding or taking away weights as needed.
There’s obviously a lot more to this process than what we described in this introduction. If you want to learn how to properly weight yourself, then read on as we discuss each point in greater detail down below.
What happens if you use too much weight
The goal of weighting yourself is to help you achieve neutral buoyancy more easily. You also cannot even begin your descent without dive weights, so most divers make the mistake of using too much weight because they feel they aren’t descending fast enough.
Unfortunately, this mistake is sometimes left uncorrected because divers can still reach neutral buoyancy by filling their BCD with more air. The downside to this is that they are wasting air and they will be in more of an upright position in the water.
If you need to constantly fight against this upright position, it wastes even more energy and air. It can also be annoying and take the fun out of diving if you have to constantly adjust your positioning.
The worst case scenario is when your BCD does not have the capacity to counteract the dive weights. You would have to be egregiously overweight for this to occur, and it might take a newbie a while to realize that they are constantly sinking.
In this case, the solution would be to dump all the dive weights and end the dive, otherwise you will sink to the depths and drown. You do not want to exceed your maximum dive limit because you sank past it uncontrollably. This will drastically increase your chances of decompression sickness, as well as drowning if you have trouble dumping the dive weights.
How to weight yourself properly
If you ever hear a diver or catch yourself saying, “This is the amount of dive weights I always use”, then an alarm should be going off in your head. The amount of dive weights required is not a fixed number; there are various factors that can cause it to change.
Finding the right amount of dive weights requires thinking and practice. Throughout our life, our body mass will change due to changes in muscle, fat, and physical condition. Additionally, our gear is constantly changing too. Even using the same gear, it can get worn down over time and will eventually be replaced. Furthermore, the diving environment will be different too. All of these factors will dictate your buoyancy and the amount of dive weights needed.
As we mentioned, there are three steps you should follow:
- Pre-dive weight check: Estimate how much weight you need before descending on a dive.
- Post-dive weight check: Examine your buoyancy during the safety stop at 5 meters depth.
- Optimize the weight: Based on your post-dive weight check, you can decide if you need to add weight, remove weight, or keep it the same next dive.
Pre-dive weight check
Determining how much weight you might need is a lot easier if you have a reference. This could be the amount of weight you used on your last dive at the same location using the same equipment, notes from your logbook, or just intuition from doing so many dives.
To determine the amount of weight you need, you must factor in your body weight, buoyancy of your exposure suit, the weight of your other dive equipment, and the environment you’ll be diving in (e.g. saltwater or freshwater).
A good rule of thumb to determine how much dive weights you need is this: 10% of your bodyweight plus 1 kg / 2 lbs in saltwater, or 2/3rds of that weight in freshwater.
For example, if you weigh 80 kg (176 lbs) here is the math:
Recommended dive weight = 8 kg (10% of your bodyweight) + an additional 1 kg = 9 kg (20 lbs) for saltwater. For freshwater, 2/3rds of 9 kg = 6 kg (13 lbs).
If you are wearing a 3mm wetsuit and feel the numbers are a little high, then use 5% of your bodyweight in the calculations. Using the same example above, that would come out to 5 kg (11 lbs) in saltwater or 3.3 kg (7.3 lbs) in fresh water.
Obviously, there are more accurate ways to determine this, but if you’re just starting out, this is a quick and dirty way to be about 90% accurate. As we mentioned, lung volume plays a role in buoyancy control. In other words, you must also control your breathing – remember to breathe in deeply and slowly and to never hold your breath.
Note: This rule of thumb is not accurate if you are at an extreme bodyweight. While there isn’t a weight limit for scuba diving, it can certainly impact your diving experience in multiple negative ways, and this is one of them.
Now in order for you to be even more accurate, let’s do a more thorough weight check at the surface of the water.
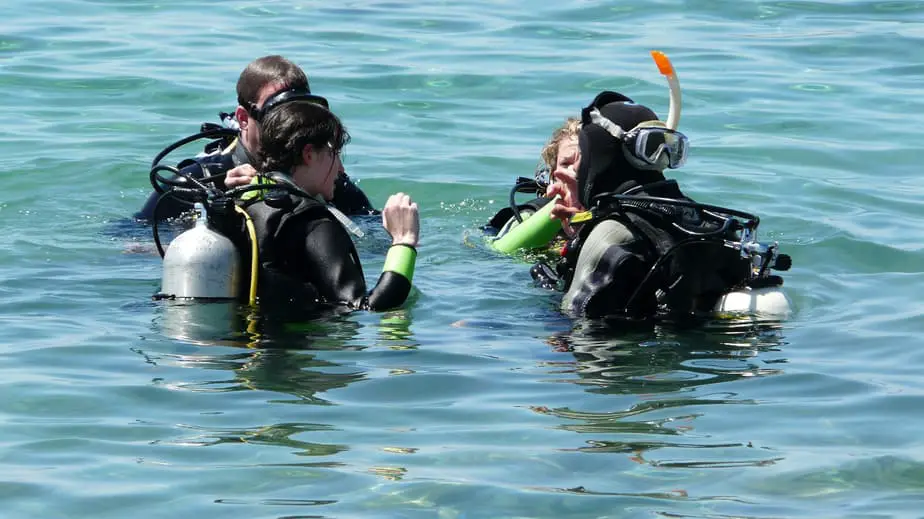
Weight check at the surface of the water
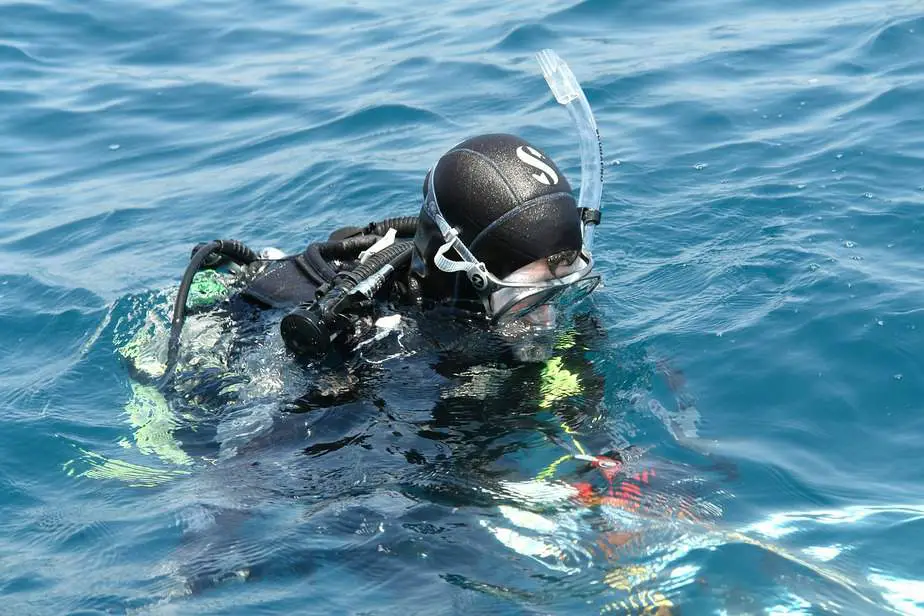
After you have your first estimate for dive weights, it’s time to make your way to the water. Fully inflate your BCD and don’t step on any corals or vegetation if you’re doing a shore dive.
Once you are in the water, perform the following steps:
- Float at the surface without using your legs or arms.
- Point your feet downwards.
- Take a deep breath and hold it (this is the only time you’re allowed to do so – at the surface during the weight check).
- Completely deflate the BCD and don’t move your legs.
- You should begin to submerge until water covers half your mask.
- If you continue sinking past that point, you are carrying too much weight.
- If you don’t sink to that point, you are carrying too little weight.
- Add or remove dive weights as necessary until you submerge to eye level. Again, do not use your arms or legs to achieve this level of buoyancy.
Now, some of the more obsessive types who want to achieve the absolute perfect buoyancy might go a little crazy adding a pound there or removing a pound there. Don’t ever stress about it to this degree. It’s not an exact science, and if you’re off by one pound, it won’t make that big of a difference.
If you’re close enough, I recommend you just start your dive and see how it feels. If it feels like you’re struggling to descend, then you definitely need more weights next time. You can compensate for the missing weight by breathing out more during the descent.
The main purpose of adding lead weights is to help us descend. It’s actually not a bad thing to be slightly underweight because it means you don’t need to inflate your BCD as much which saves air. With proper breathing technique, experienced divers can still successfully descend and scuba while underweight.
However, do not make the mistake of being too underweight. During the ascent, the strong positive buoyancy might cause you to ascend too quickly which puts you at risk of decompression sickness. That’s why we have yet another weight check to help you get a more accurate weight for the next dive.
Post-dive weight check (during the safety stop)
The most often neglected part of a scuba diving weight check is the one done during the safety stop. Typically, we end all our dives with a 3 minute safety stop 5 meters (16 ft) from the surface even if it was a no-deco dive.
This stop is crucial for reducing the likelihood of decompression sickness by giving our bodies 3 extra minutes to off-gas the excess nitrogen. In shallow reefs, most divers take this time to relax and look at the pretty fish or take some final pictures.
However, if this is your first time diving at this location, this is an excellent opportunity to do your final weight check. At this depth, with 50 bar left in your tank, you should be able to completely deflate your BCD and maintain neutral buoyancy in the water.
If you notice that you have a significant amount of air remaining in your BCD to maintain your current depth, you can remove weight on your next dive.
If you need to exhale more than usual to maintain your depth, you need to add more weight on your next dive.
Keep in mind, this test should only be done while you are totally in control. Do not attempt it if there are strong currents or you are performing a mandatory decompression stop.
Optimizing weight distribution
While buoyancy is one part of the equation, maintaining proper trim is the other part. After you have determined how much lead weights are needed to maintain buoyancy on a dive, the next step is to figure out how to place them.
During the weight check, if you feel that you are tilting forwards or backwards, you need to adjust the weight distribution before descending further. Weights should typically be placed along your center of gravity to even out any discrepancies in your trim.
Naturally, diving backmount means there will be plenty of weight on your back due to the positioning of the scuba tank(s). Thus, you should try to put the lead weights towards the front as far as possible using a weight belt to even out the weight distribution.
You can also use weight pockets or back-mounted weights to ensure the weights don’t affect your ability to dive at all. You can also dive sidemount to improve your trim and use less dive weights.
More rules of thumb
The following rules of thumb can help you quickly adjust between different gear or waters.
- Going from saltwater to freshwater: Remove 5-6 lbs of dive weights. If you’re going from freshwater to saltwater, add 5-6 lbs of dive weights.
- If you’re going from a thinner wetsuit to a thicker one: Since thicker wetsuits are more buoyant, add 2 lbs of weight until you pass your buoyancy check. Going from a thicker suit to a thinner one, remove 2 lbs of weight until the water level reaches up to your mask.
- Switching from a steel 80 tank to an aluminum 80 tank: Since aluminum is more buoyant than steel, add roughly 6 lbs of dive weights to compensate. If you’re going from an aluminum to steel tank, remove 6 lbs of weights.
Which scuba weight system should you use?
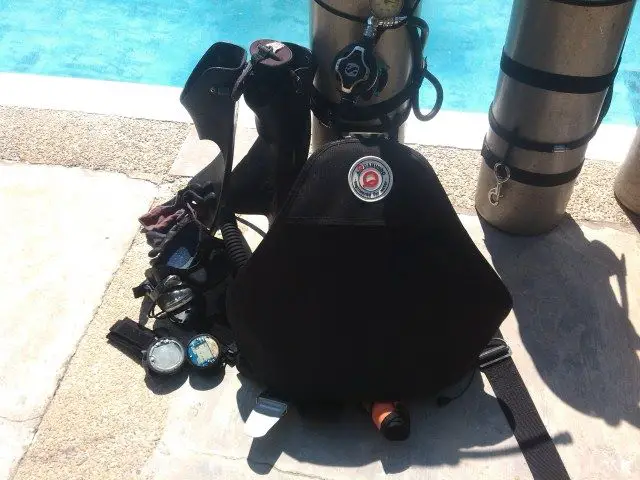
There are multiple weight systems that you can choose from based on your BCD. Your options are:
- Weight belts: The classic weight system that has been in use since scuba diving first started. Most weight belts are made of nylon with lead weights threaded onto it. You can also get weight belts made of fabric and have pockets for added comfort.
- Integrated weight systems: These are built right into your BCD. Weight pockets on either side of your BCD let you distribute the weight evenly. Your BCD may also have smaller strim pockets to place small weights to fine-tune your balance underwater.
- Trim weights: These are small lead-shot filled tubes that can be clipped around your ankle or attached to your valve for additional trim adjustment.
How do you select which ones to use? Consider the following:
If your BCD already has weight-integrated pockets, then you already have a functional weight system to use. Just make sure you have sufficient weights and that your BCD can handle the amount of weight you need.
If your BCD does not have weight-integrated pockets, then you will have no choice but to use a weight belt. There are many choices in regards to weight belts – basic nylon belts with threaded weights, fabric belts with zippered pouches, and neoprene belts with Velcro pockets. Most belts should have a quick-release system that lets you drop the weights instantly.
Trim weights can be used in addition to either of the two options above to adjust your trim.
Divers wearing a dry suit may require even more weights than usual to descend. It’s not unusual for dry suit divers to use both an integrated weight system and a weight belt to have sufficient weight. Having both can also help with redistributing the weight more evenly.
Additional tips
Keep records
For every dive, write down your exact setup; what exposure suit type you were wearing, how much weights you used, what BCD and scuba tank you were wearing, etc. Also make a note of the location and the weather conditions.
This way, the next time you dive somewhere, you can take a look through your logbook and find a solid reference point to give you an idea of what you can start with and weight yourself accordingly.
The more thorough you are with your logs, the more accurate your starting point will be. For instance, if you neglect noting down your fins and you switch to a different pair, this can slightly affect buoyancy. If your equipment changes drastically enough during dives, you will find that the previous amount of dive weights on the last dive will be wildly inaccurate for your current setup.
Many people fall into the bad habit of just using the same number of weights as last time. You might occasionally come across someone lamenting, “But I used four weights last time, why is it so off today?” Four what? 2-pounders? 3-pounders? It’s not enough to know how many weights you had, but exactly how much they weigh, in addition to your other equipment.
It’s your responsibility to know how much weight you need. Even if you have someone set everything up for you, you should also keep track of everything yourself and be comfortable with every step of the process so you can diagnose what went wrong.
Control your breathing
Even if you are perfectly weighted, if you lack the proper breathing technique, your control over your buoyancy will be off. In the same way that how much you inflate or deflate your BCD affects your buoyancy, your lungs are like your built-in BCD. To descend, you need to carefully control the air volume so that as you exhale, you will achieve negative buoyancy and begin to descend.
Short, rapid breaths are a mistake – they waste a lot of oxygen and make it hard for you to descend. Never hold your breath either; that is a good way to suffer lung barotrauma.
Instead, the proper way to breathe is to take big, deep breaths. Remember that as your lungs fill up with air you will become more buoyant, and as you exhale you will become more negatively buoyant. The key is to control your breathing (and BCD) such that even when your lungs are full of air, you aren’t ascending, but as you exhale, you are descending at a controlled rate.
Effectively, you are managing two buoyancy compensators – your actual one and your lungs. If you only focus on one and not the other, you are only halfway in control of your buoyancy and are at risk of ascending or descending uncontrollably.
Test out what weight distribution works best for you
There are multiple ways to weight yourself. As we mentioned, you can use integrated weights, weight belts, or even both at once. There are also trim weights you can use to fine-tune your weight distribution.
Everyone has a different preference and setup based on their unique body shape and size. Figure out what works best for you, including the weight distribution, and you will always have a solid starting point.
Some people place trim weights on their tank valve, however an alternative to this is to use a BCD with a sturdy backplate which acts like its own trim weight.
That said, it’s important to be flexible. You might change up your scuba kit, dive in a different location with different water salinity, or use rental gear. Particularly with rental gear, not all BCDs have integrated weight pockets. If that’s what you’re used to using, then you should either learn how to use a weight belt as well, or purchase and bring your own BCD with you to avoid problems.
Consider the water salinity
By now everyone is aware that saltwater is more buoyant than freshwater, and therefore it requires more dive weight to begin the descent. However, what is not as well-known is that not all bodies of saltwater are as salty as each other. This difference is enough to affect how much dive weights you need, which is why even changing dive locations requires you to do a buoyancy check.
For instance, the salinity of the water in Thailand is quite high, however the salinity of the water in Curacao in the Caribbean is significantly lower. Also, the Baltic Sea in Denmark/Germany has a salinity closer to freshwater because it contains both saltwater and freshwater. Thus, even between two bodies of saltwater, you should not assume that the same dive weights will do the job.
Take a buoyancy control course
If you really want to learn how to properly weight yourself, why not go the whole nine yards and learn about how to improve your buoyancy control overall. We highly recommend the PADI Adventure Dive course called Peak Performance Buoyancy that will give you the skills to glide through the water effortlessly and observe the aquatic life without disrupting your surroundings.
Even though it’s not technically a requirement, we highly recommend it if you plan on getting your Advanced Open Water Diver certification at some point.
The PPB course will drill into your head the steps to properly weight yourself before a dive. You will also learn what it feels like to be over and underweighted in a safe environment. You will be expected to go through obstacle courses and games that challenge your ability to focus on your breathing and buoyancy.
Both the PPB dive course and its corresponding specialty can help you be a skilled diver in so many ways. Even though you technically don’t need to take it, if you plan on advancing your skills as a diver, it is a must-have.
Parting words
In this article, we discussed how to properly weight yourself for scuba diving. While some trial and error is expected, you can get very accurate estimates using a rule of thumb and with some experience. Once you’re in the water, you can make some additional adjustments to get the weight just right.
We call these steps the pre-dive weight check, post-dive weight check, and weight optimization. Your initial estimate can be easily calculated by taking 10% of your bodyweight and adding 1 kg / 2lbs to it. Once you’re in the water, depending on how much you sink or float, you can add or remove more weights until the balance is just right (the water should be up to eye level).
You must perform these checks on every dive. Do not simply rely on the numbers you used last dive. Even a difference in water salinity is enough to throw your buoyancy off. Unless the conditions are literally the same, you should weight yourself again each time.
Every time you dive, focus on all aspects of your diving techniques including doing a buoyancy check. How much dive weights you have and the weight distribution is a crucial part of buoyancy control.
As a certified diver, you should have already learned these things, including the pre-dive safety check, but do you truly understand it? Is it something you do haphazardly or do you do it with great care? It’s your responsibility, both to yourself, and the divers who are part of the group, to be prepared for anything, and a buoyancy check should be a crucial step to that end.