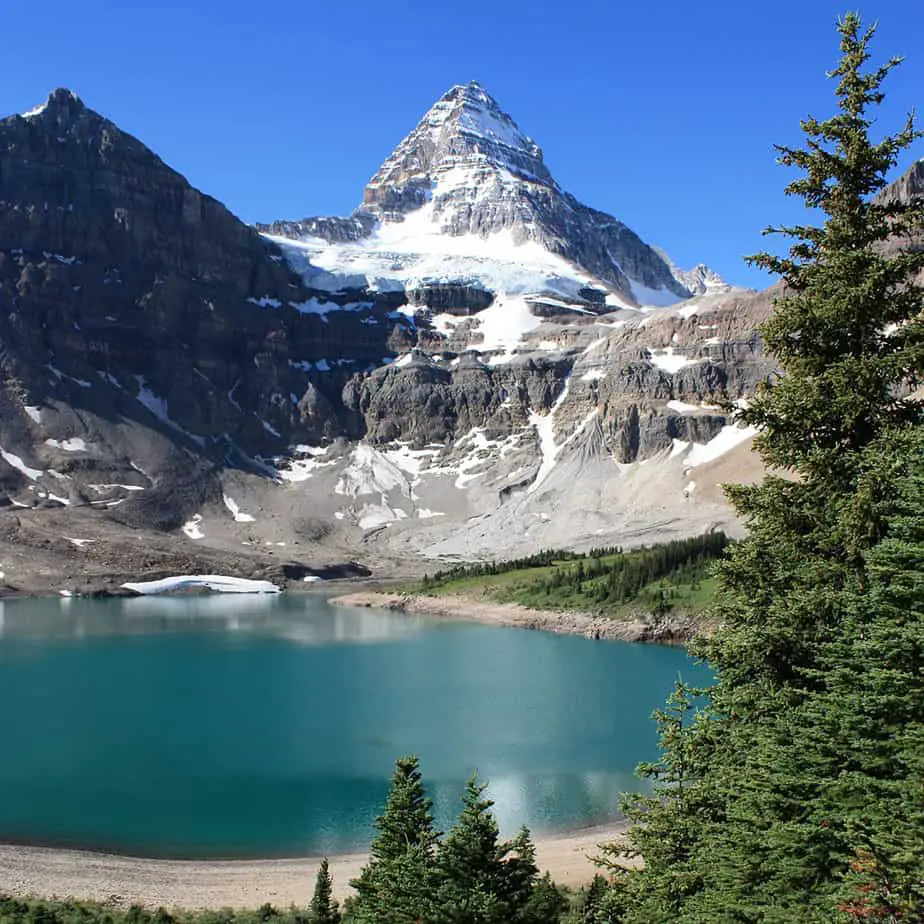
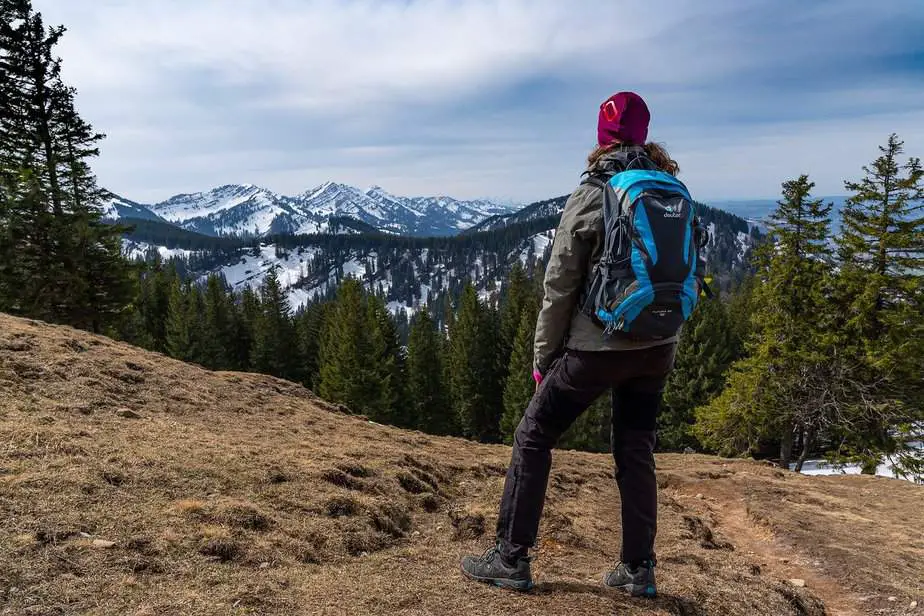
As you drive through the mountain range up to your dive spot, you take in the incredible scenery around you, getting more excited the higher you go. Even though altitude diving is the goal, more often than not, just experiencing the panoramic view above the water is already worth the trip. The body of freshwater is incredibly cold, but crystal clear, as each mountain lake takes you to a different underwater world.
Altitude diving, also known as mountain diving, is simply breathtaking. However, there are some things to keep in mind in order to dive safely. When diving at altitude, you have to consider the differences in atmospheric pressure and how this affects your decompression time. Furthermore, all altitude dives are freshwater dives, meaning the water is generally colder and less buoyant than saltwater. In this article, we aim to introduce you to the basics of mountain diving so you have an idea of what you are getting yourself into.
What is an altitude dive?
If you were to ask ten different divers what they consider to be altitude diving, you will get ten different answers. However, the official definition of altitude diving, as defined by training agencies such as SSI and PADI, is any dive done above 300 m (1,000 ft). Other organizations, such as CMAS and the IAC use 700 m (2,300 ft) as the lower limit.
Additionally, not all altitude dives are the same. Just like when mountain climbing, a hiker that only plans to reach an altitude of 500 m would prepare differently than someone climbing a mountain up to 3,000 m. Thus, we can also differentiate between general altitude diving, and high altitude diving.
Taking a page from the US Navy dive tables, they account for these altitude differences by grouping decompression calculations for each altitude range. The Deco2000 dive table, which is the standard dive table used throughout Europe, uses entirely different tables depending on the elevation. Regardless of which definition you follow, the most important thing is to know how to plan your dive according to the altitude you plan on diving at.
Altitude diving basics
Diving in quarries or mountain lakes allows you to experience the beautiful and unique ecosystems of each lake. Each dive site you go to will feel like a new experience because of how vast the ecosystems are compared to the sea. What’s more, not only is the underwater scenery beautiful, but the views above water are breathtaking as well.
However, let’s take off our rose-tinted glasses for a second and talk about the risks. Diving at altitude can lead to a higher risk of decompression sickness if you have not planned your dive appropriately. You have to remember to adjust your altitude settings in your dive computer (if it doesn’t do it automatically), otherwise all of its calculations will be wrong. If you are using a dive table, make sure you’re looking at one designed specifically for altitude diving.
When altitude diving, there are three things you need to keep in mind: 1) How to reach the dive spot, 2) performing the dive and decompression, and 3) leaving the dive site. In the next sections, we will go over the challenges associated with each part so you can better understand why you should probably take an altitude diving course prior to going mountain diving.
As much as we’d like to think we are being painstakingly thorough with our explanations, getting hands-on experience and having an instructor give you individual, specific feedback is infinitely more educational. However, we will try our best to get you primed for the course.
Pressure at altitude
When diving at a high elevation, one major difference is the change in ambient or surrounding pressure. Think back to what you learned in the Open Water Diver course – the higher you move up, the more the pressure decreases.
The context in which you are used to is going from depth to sea level. When altitude diving, you are above sea level, which affects the atmospheric pressure. But then you dive down, which increases the atmospheric pressure. How do you calculate this? First, take a look at the table below to get an idea of what’s going on.
| Altitude | Pressure |
| 3,000 m (10,000 ft) | 0.7 bar |
| 2,000 m (6,600 ft) | 0.8 bar |
| 1,000m (3,300 ft) | 0.9 bar |
| 0 m (0 ft, Sea level) | 1.0 bar |
| 10 m (33 ft) | 2.0 bar |
| 20 m (66 ft) | 3.0 bar |
| 30 m (100 ft) | 4.0 bar |
| 40 m (133 ft) | 5.0 bar |
You should already know that every 10 m you dive, the pressure increases by 1 bar. However, when altitude diving, you have to consider that for every 1,000 m elevation increase, the atmospheric pressure at the surface drops by 0.1 bar (0.1 atm).
Let’s look at a real life example. The highest mountain in Germany, the Zugspitze, has an elevation of 3,000 m. If you were diving there, the pressure at the surface will be at 0.7 bar. Knowing this, how can we calculate the total pressure at the depth you plan on diving at?
Adding on to this example, if you were to dive to a depth of 20 m, then the total pressure would be 2.0 bar (pressure at depth) + 0.7 bar (ambient pressure), which comes out to a total of 2.7 bar of pressure.
Do you see how, if you did not know this (and did not configure the dive computer to your current elevation), your calculations would have been slightly wrong? Diving based on wrong information is dangerous and increases your risk of decompression sickness.
Traveling to the dive spot
Divers must be wary of the no-fly time, which is a certain amount of time they must avoid going to high elevations, after diving. Most scuba training agencies, as well as dive computer manufacturers, recommend a waiting period of at least 24 hours from your last dive until you take a flight.
The reason for this is that the cabin pressure will be lower (at around 0.6-0.7 bar) compared to the surface. This allows your body to off-gas even further, quite rapidly, which will cause more nitrogen to be released. In other words, flying too soon after diving puts you under the same conditions as surfacing rapidly without decompressing which causes decompression sickness.
How does this affect altitude divers? First of all, unless you live in the mountains, you’ll have to travel up a mountain to reach the dive site. This increase in elevation causes you to go from a higher pressure environment (sea level, 1 bar) to a lower pressure environment (say, 2,000 m, 0.8 bar). This will decrease the nitrogen concentration in our tissues, and can be thought of as a pre-decompression state.
Furthermore, every altitude dive is like a repetitive dive since our body is already off-gassing the excess nitrogen we always have with us from our higher pressure environment at sea level. This process is known as equilibration since altitude divers need to first equalize to the pressure at the dive site before any diving can be done.
Thus, just like how there is a no-fly time, for altitude divers there is an equilibration period in which you should not dive after reaching the dive site to avoid any decompression issues.
Equilibration Period
The equilibration period varies depending on how far up you had to travel to your dive site from your current elevation. The general rule is to wait at least 12 hours for every 700 m (2,300 ft) elevation increase before doing any diving.
For example, if you started the day off at sea level (0 m), then drove all the way up to a dive site at 1,000 m, then you should consider taking at least 18 hours off before diving. However, if you were already at an elevation of 500 m, then traveled to a dive site at 1,000 m, you only increased your elevation by 500 m. Since that is below 700 m, your equilibration period can be shortened to, say, 8-9 hours.
Keep in mind that traveling by car to a dive site is considered the “better” option because the pressure decrease will be more gradual as opposed to traveling by plane. If it takes you several hours to reach your dive site, technically your equilibration period will be less as well since you were slowly off-gassing on the way up the mountain. On the other hand, if you flew to the Himalayas, expect several days of equilibration before it’s safe to dive.
Some dive tables and dive computers will automatically add a penalty to your NDL if you did not adhere to the equilibration period.
Nitrogen in your system
So you managed to travel to your dive site, waited out the equilibration period, and are finally diving. How does descending during an altitude dive compare to one at sea level? Thankfully, not much has changed here. Actually, the total pressure as you descend is less than a similar depth at sea level (as explained in the “Pressure at altitude” section above). Therefore, your maximum nitrogen concentration is overall less.
Decompression procedures
Unfortunately, mountain diving is not all positive as the previous section would have you believe. There’s a reason why training agencies offer an Altitude Diver course, after all. The complicated part about altitude diving occurs during the ascent. While it is true that the total pressure in altitude diving is lower than sea-level dives, there is a greater pressure difference when ascending.
While diving, it is our goal to keep our nitrogen bubble sizes in our tissues as small as possible. Due to the decreased pressure of diving at altitude, the bubbles in our tissues can become even larger than at sea level if they aren’t off-gassed. Since bubbles can become bigger at altitude, you have to compensate for this by ascending even slower, or adding in several decompression stops during the ascent.
Leaving the dive site
Leaving the dive site is straightforward, as long as you are able to head from your current high altitude straight down to a lower altitude. Depending on where your dive site is located, this may not always be possible.
For instance, in the Alps and other mountain ranges, the road may take you to an even higher elevation on the way out. If the increase in elevation while leaving is greater than 300 m (1,000 ft) at any point along the way, then you risk experiencing decompression sickness. Consider taking a sufficiently long break after a dive to reduce the risk of DCS.
Going to altitude after diving may be a problem because the nitrogen in your system will be rapidly released, causing them to form bubbles which can wreak havoc on your body. Whenever you go from a lower altitude (higher pressure area) to a higher altitude (lower pressure area), then decompression sickness becomes a risk. Even if you did decompression stops on your ascent, it’s still not enough time to completely off-gas so going to high altitudes is a danger.
Lastly, did you know that in the highest navigable dive site in the world, Lake Titicaca, there is no no-fly time? That’s because it is located roughly 4,000 m above ground, where the pressure is roughly 0.6 bar. That happens to be the lowest pressure you will experience in an airplane cabin, meaning no pressure difference will occur. Thus, you may technically fly right after diving here.
Getting certified for altitude diving
The safest and easiest way to get started with altitude diving is to take the Altitude Diver course. Altitude diving has enough nuances and differences to sea-level diving that you should definitely learn the basics from a professional. Your dive instructor will go through all the steps of planning, preparing, and conducting an altitude dive.
As you know, having a certification card does not automatically make you a better diver. You may think that watching a few YouTube videos on mountain lake diving can catch you up to speed with minimal hassle. However, the benefits of professional supervision, individual feedback, and the ability to ask questions when needed is invaluable.
Learning about the environment

When taking a course, the instructor will introduce you to the new environment. That, by itself, can be a huge weight of your shoulders, and your first few altitude dives will be more relaxed.
You will notice that the visibility at freshwater lakes can change drastically depending on the seasons. Sometimes, the water will be crystal clear; other times, it will be filled with plants and algae. When diving in the Alps, for instance, it is common to experience a decrease in visibility from mid-May to mid-June, and again toward the end of October.
The dive instructor will know when the best times to dive are, and even if the visibility is low, they can still guide you through the course. Furthermore, attending a professional dive school means that you know you are abiding by the regulations and laws in that area in regards to diving permits, etc.
Hands-on learning
During the course, you will receive individual feedback and get hands-on experience with drysuit diving. Diving at altitude introduces a number of new risks and challenges compared to warm water diving, and learning it properly from the outset is useful for establishing good habits. We already mentioned how beneficial it is to have an experienced diver around who knows the environment and how to navigate it well. However, there’s more to it than that.
Dive instructors who specialize in freshwater diving will know the importance of perfect fin kicks. Improper finning technique will not only waste your energy, but also disturb the sediment and result in silt-outs. They will hammer home the point that you must have the “proper” kick (we are partial to the frog kick), which they will demonstrate to you as well.
Additionally, with an instructor, you can practice the vital skills needed to safely dive at altitude. This includes entry and exit techniques, navigating in low-visibility areas, shooting SMBs, and planning dives.
Planning for an altitude dive
Planning your dive and diving your plan is a phrase that is often heard because it has prevented many divers from making a big mistake. The same is true for altitude diving, perhaps even more so, because of the differences in pressure and decompression at altitude.
Back when you were a complete newbie and you went on a diving safari, all you needed to do was follow your guide’s instructions – do this here, do that there, surface this slowly, wait this long between dives. Maybe you followed it and didn’t know why you did things a certain way. Even after taking the Open Water Diver course, you just assumed the conditions were the same for every dive.
However, altitude diving is a different animal than regular diving. If the differences in decompression and pressure are not accounted for when altitude diving, you will easily get DCS. An instructor will teach you how to use altitude dive tables, how to adjust your dive computer’s settings for the altitude you’re at, and how to use common sense to adjust your dive plan.
Not every diver is comfortable with using dive tables, so taking another course that will go over it again (albeit in a different context) is a good idea.
Mountain diving tips
Don’t aim for depth
Many divers are obsessed with depth. They think that the deeper they dive, the better the dive is and their overall ability. This is not necessarily true. Progress slowly, sharting from shallow dives at first, and only going deeper if it is part of your dive plan. Don’t spontaneously decide to dive deeper just because you feel up to it.
One thing that’s great about altitude diving is that the area is usually filled with trees, lights, and mountain tops that can be seen from underwater. Thus, some mountain divers prefer to stay in shallow depths where it is still visible. They only go deeper if they need to, which almost never happens unless it’s planned.
Wear the appropriate exposure suit
Not only is the air thinner on a mountain, it’s also extremely cold. For this reason, altitude diving is often synonymous with cold water diving. While you can use most of the same gear for cold water diving, you must also decide on whether you still want to wear a wetsuit switch to a drysuit.
Some mountain lakes are so cold, their temperature never goes above 4°C (39°F) throughout the year. At this temperature, you should almost certainly be wearing a drysuit. Even the warmest 7 / 8 mm wetsuit will not be able to keep you warm for very long at these temperatures. Use the table below as a reference point for when you might want to wear a drysuit.
| Water temperature | If you get cold easily | If you don’t get cold easily |
| More than 30°C (86 F) | 1 – 3 mm shorty | Rashguard |
| 28 – 30°C (80 – 85 F) | 3 mm shorty or full suit | 1 – 3 mm shorty |
| 25 – 27°C (78 – 80 F) | 3 -5 mm full suit | 3 mm shorty or wetsuit |
| 22 – 24°C (73 – 78 F) | 5 – 7 mm wet or semi-dry suit | 3 – 5 mm wetsuit |
| 18 – 21°C (66 – 72 F) | 7mm wetsuit or semi-dry | 5 – 7 mm wet or semi-drysuit |
| 14 – 17°C (57 – 65 F) | Drysuit | 7 mm wet or semi-dry suit + ice vest |
| 10 – 13°C (50 – 56 F) | Drysuit | 7 / 8 mm semi-dry suit + ice vest or drysuit |
| 7 – 9°C (44 – 49 F) | Drysuit + heating system | Drysuit |
| 6°C and below | Drysuit + heating system | Drysuit |
If you have never used a drysuit before, you may be hesitant to make the switch. This is a great opportunity to combine your altitude diving course with a drysuit diver course. This way, you can kill two birds with one stone. Diving in a drysuit has some significant differences compared to wetsuit diving that you should know about.
For instance, as the name suggests, drysuits keep you dry unlike wetsuits which allow some water to enter. Additionally, nearly any drysuit will be adequate; you don’t have to worry about drysuit thicknesses or anything like that. They are designed to fit loosely over your body so that you can wear several layers underneath. The undergarments are what’s really keeping you warm; the drysuit just prevents water from entering.
Combine altitude diving with other activities
After you traveled all the way up a mountain, it’d be a shame to waste all of the beautiful scenery. There are numerous opportunities for outdoor activities beyond diving. Why not use your equilibration period to do some hiking to the mountain top? That way, you don’t feel like you’re wasting your time during the waiting period before you can safely dive.
Keep in mind that you should probably be resting your body after a dive. But, anything before that is fair game. Mountain areas like the Alps provide so many places to visit you can literally spend an entire week there and not run out of places to visit or things to do.
For example, two well-known mountain lakes in the Alps are Fernsteinsee and Samerangersee. They are not even 500 m apart from each other, and you are not allowed to dive in them unless you spend one night at the nearby hotel. The gotcha is that this hotel is not really a hotel. It’s actually a castle hotel that provides great rooming, food, and a spa. Sounds like a great place to wait out the equilibration period.
Next to these two beautiful mountain lakes are places you can hike, climb, mountain bike, raft, or even play golf. You could spend your entire time there exploring your surroundings and going diving in the lakes. There are even refilling stations, so the fun never ends. Due to the sensitive nature of the plant life in these lakes, you are required to have a minimum number of logged dives to be eligible to dive in them.
Back to the main point – there are many reasons to travel up a mountain besides altitude diving, so you can maximize your time there by doing some of them while you are in the equilibration period.
Best mountain diving destinations
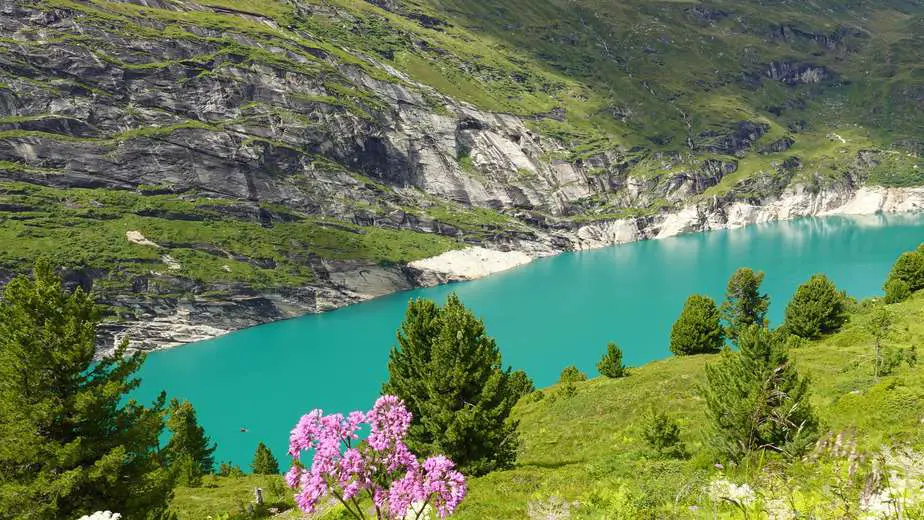
The best locations for altitude diving, in my mind, are in the Alps. You can’t go wrong with the Alps. Its greatest strength is that it has an incredible number of dive spots for you to explore. You can visit hundreds of different lakes over five different countries. Wherever you are in the Alps, there is sure to be a dive spot nearby.
Additionally, each body of water will provide new scenery and unique ecosystems. You will see anything from underwater forests to crystal clear basins, even wrecks if you want to. The Alps has it all. In addition to great dive spots, there is also fantastic infrastructure for divers. Similar to the abundance of lakes, there are an equal number or more of shops and filling stations so you can get your necessary equipment and refills.
Finally, the Alps has a wide variety of lakes at different elevations. This is especially beneficial for beginners who are getting the first few altitude dives under their belt. They can start at a low altitude and move up gradually, allowing them to ease their way up to higher altitudes smoothly.
Some of the best dive sites in the Alps are: Blindsee (Austria), Walchensee (Germany), Wolfgangsee (Austria), Vierwaldstättersee (Switzerland), and Samerangersee (Austria).
If you live in the USA and don’t want to travel abroad, don’t worry. There are many different freshwater lakes and mountain diving opportunities right at home. Unfortunately, unlike the Alps, these locations are spread throughout the country instead of in one convenient area.
You can find some low-altitude diving sites at lakes such as Summersville Lake (West Virginia), and medium altitude diving at Rock Lake (New Mexico). For some really high altitude diving, you can visit Yellowstone Park and dive at an elevation of 2,500 m (8,200 ft).
Lastly, we would be remiss not to at least mention Lake Titicaca. Located between Peru and Bolivia in the Andes Mountain, Lake Titicaca is South America’s highest navigable body of water, with a surface elevation of 3,812 m (12,500 ft), far surpassing Yellowstone Park. However, at the time of writing this article, this location is not yet open to the public. When it is allowed, however, be sure to check it out. We certainly will.