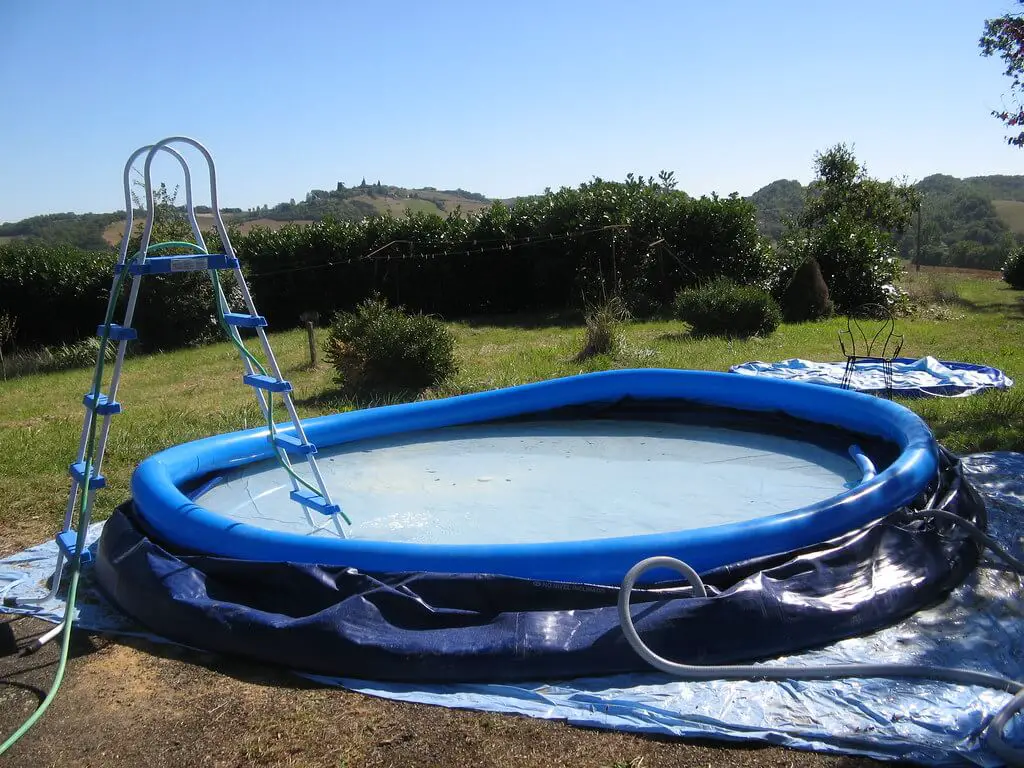
Does your inflatable pool keep deflating overnight? Don’t worry, your pool may still be salvageable! It just has a puncture or leak that needs to be patched. In this article, we will show you how to patch an inflatable pool easily. Understanding how to repair your pool can save you time, money, and ensure your family can continue enjoying it throughout the summer.
Whether you have a tiny pinhole, a more substantial puncture, or even a seam tear, we’ll walk you through the steps to patch your inflatable pool so it’s as good as new. So, grab your patch kit or sealing tape, and let’s dive into how to repair a leaky inflatable pool.
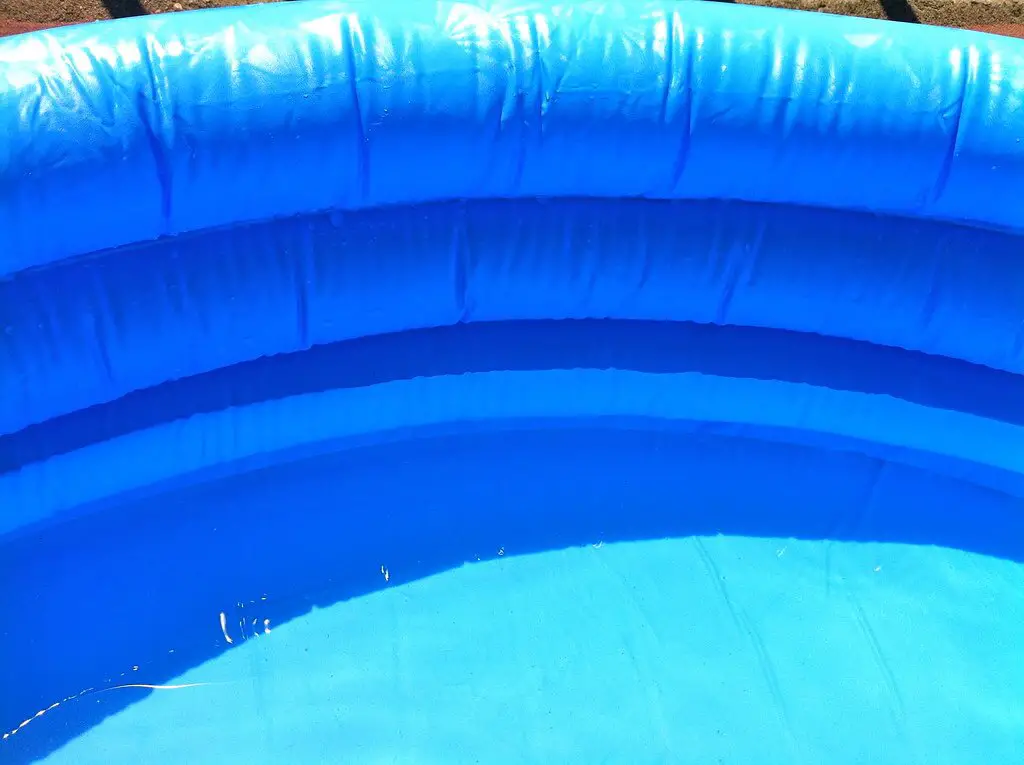
Inspecting the Pool for Damage
Identifying the Leak Source
Before you can patch your inflatable pool, you must first identify the source of the leak. Begin by visually examining the pool’s surface and seams for noticeable damage, such as punctures, cuts, or small holes.
You may also use the soapy water method by spraying a solution of water and dish soap onto the pool, and observe for bubbles formed where air is escaping.
If the leak is not easily visible, submerge sections of the pool in water while it is slightly inflated, and look for escaping air bubbles.
Keep in mind that working in a systematic manner will help you to efficiently locate the leak, so start from one corner and work your way around the entire pool.
Marking the Damaged Area
Once you’ve located the leak, it’s important to clearly mark the damaged area so you don’t lose track of where it is (trust me, it’s very easy to do).
This will also help you properly align the patch when the time comes for repairs. Use a non-permanent marker to trace a circle around the hole or cut.
Here are some tips for marking the area effectively:
- Avoid using permanent markers, which may damage the pool’s material further.
- Ensure the marked area is slightly larger than the actual damage, allowing for adequate patch coverage.
- If the damaged area is underwater, consider temporarily draining the pool to make marking easier and more accurate.
Now that you’ve identified and marked the leak source, you’re ready to proceed with patching the inflatable pool.
Prepping the Repair Site
Before you begin patching your inflatable pool, it’s crucial to properly prepare the repair site. Here are the steps to do just that:
Draining the Pool
First, if your pool isn’t already empty, you’ll need to drain the water from your pool. This is essential because you’ll be working with adhesives that require a dry surface.
Locate the pool drain valve, and allow the water to flow out. You can use a submersible pump or a garden hose to speed up this process if necessary. Remember to dispose of the water responsibly, following your local regulations for water disposal.
Cleaning the Damaged Area
Once your pool is drained, it’s time to clean the damaged area thoroughly. Wipe away any dirt, debris, or algae using a wet cloth, and then use a dry cloth to remove any remaining moisture.
Be thorough in this step, as a clean and dry repair site will ensure the best possible bond between the patch material and the pool surface.
If you’re dealing with a stubborn stain or residue, feel free to use a solution of mild dish soap and water. Just be sure to rinse the area well and dry it completely before moving on to the next step.
Cutting the Patch Material
Now it’s time to cut your patch material. Using a sharp pair of scissors, cut a piece of patch material that’s large enough to cover the damage, with at least a one-inch margin around the edges.
Ensure the patch material is compatible with your pool’s material – this information can usually be found in the pool’s user manual or on the manufacturer’s website.
For better adhesion, it’s helpful to round the corners of the patch. This reduces the chances of the patch’s edges lifting due to water exposure or regular use.
Applying the Patch
Now that you’ve prepared the patch and the inflatable pool, it’s time to apply the patch to fix the hole.
Applying the Adhesive
With your pool slightly inflated, apply a generous amount of watertight glue or adhesive to the hole, making sure to cover its entire surface.
If needed, you can use a small brush or stick to spread the adhesive evenly. Allow the adhesive to become tacky according to the manufacturer’s instructions, which is usually around 2-5 minutes.
Positioning the Patch
Once the adhesive is tacky, it’s time to position the patch over the hole. Carefully align the patch, ensuring that it covers the hole completely with at least 2 inches of extra material on all sides.
Gently press the patch onto the adhesive, making sure to remove any air bubbles and ensuring the patch adheres properly.
Sealing the Patch
Now that the patch is positioned correctly, it’s essential to create a strong seal. Firmly press the patch onto the pool, starting from the center and working outwards to eliminate air bubbles and ensure a tight bond. If necessary, apply additional adhesive around the edges of the patch to reinforce the seal.
Allow the adhesive to cure according to the manufacturer’s recommended time, which can vary between a few hours to a full day. Once the adhesive has fully cured, your patch should be securely in place, and you can refill your pool and get back to enjoying your time in the water.
Aftercare and Maintenance
Allowing the Patch to Dry
Once you’ve applied the patch to your inflatable pool, it’s essential to give it enough time to dry. Patience is key here, as attempting to use the pool before the patch is fully set can lead to further damage.
Follow the instructions provided with your repair kit or adhesive to determine the recommended drying time.
Reinflating the Pool
After the patch has fully dried, it’s time to reinflate your pool. As you do this, keep an eye on the repaired area. Make sure that the patch remains firmly in place and that there are no visible signs of air leakage. If done correctly, your pool should now be ready for use.
Monitoring the Repair Long-Term
Don’t forget to check on your pool repair periodically, especially after heavy use or when subject to weather changes. It’s better to catch potential issues early and address them as necessary.
If you notice the patch starting to peel or air is leaking around the repair, you may need to apply a new patch, following the same steps as before. Maintaining your inflatable pool through regular cleaning and storage during off-season can also help prolong its lifespan.
How to Patch an Inflatable Pool Without a Patch Kit
Don’t have a patch kit? No worries, you can still patch your pool with some duct tape or sealing tape and waterproof epoxy resin.
Simply apply some resin over the hole, then tape over it with duct tape or sealing tape, making sure to stretch the tape at least ¼” past the hole on all sides. This is to strengthen the seal as the epoxy resin cures.
After a few hours, you can even take off the tape once the resin has cured. If you don’t have access to epoxy resin, then shoe repair glue is an acceptable substitute.
Remember, sometimes even the best repair efforts might not be enough for larger damages or multiple leaks. In such cases, it might be more cost-effective to replace the inflatable pool altogether. Heed these tips, and you’ll be better prepared the next time you need to patch a hole in your inflatable pool!
Sources:
- https://backyardsidekick.com/how-to-patch-an-inflatable-pool-fix-it-and-repair-guide/
- https://inflatableblast.com/how-to-patch-an-inflatable-pool/
- https://www.hunker.com/13418319/how-to-repair-the-top-ring-of-an-above-ground-inflatable-pool
- https://patioleum.com/can-you-repair-inflatable-pools/
- https://www.thepurplepumpkinblog.co.uk/repairing-punctured-inflatable-toys-using-household-items/
Photo Credits: Rose Davies CC BY-NC-ND 2.0