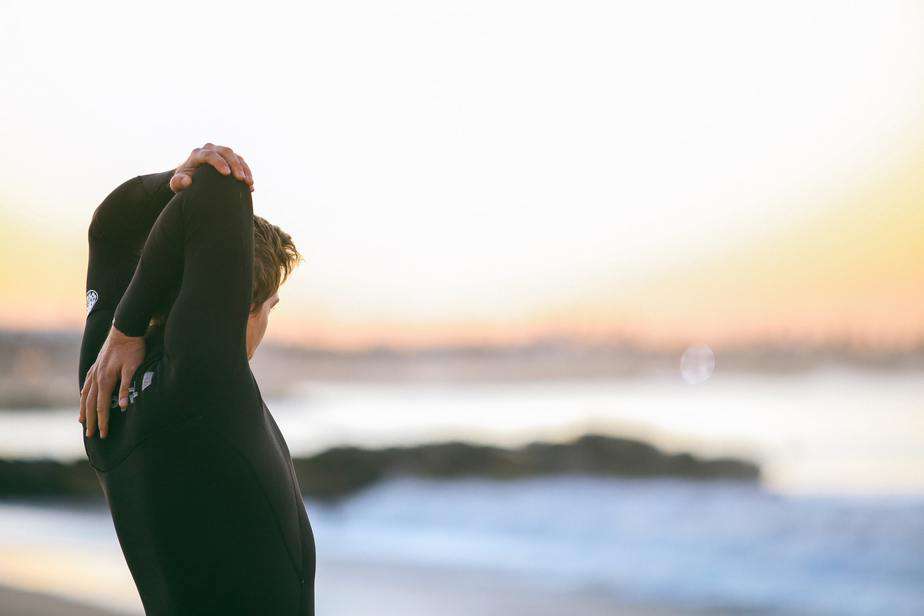
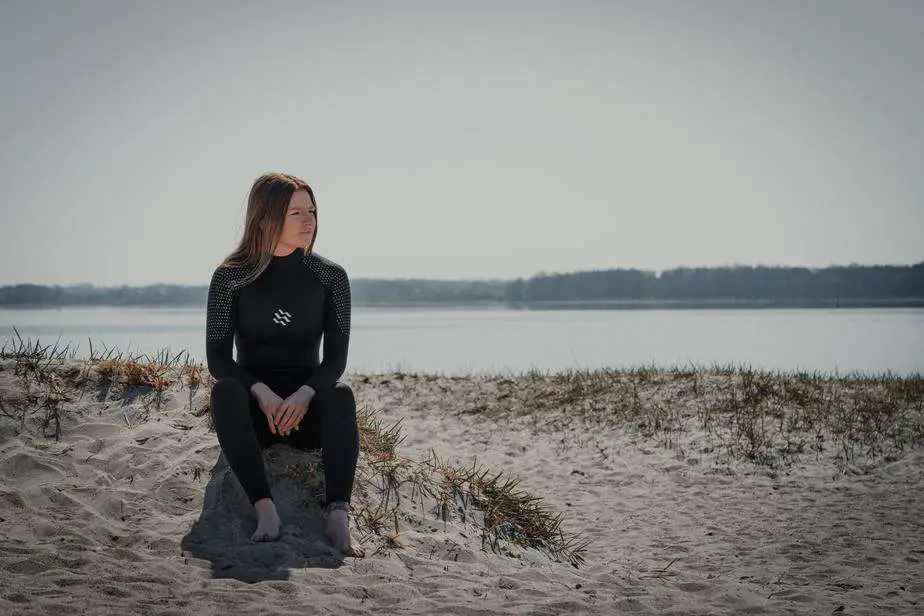
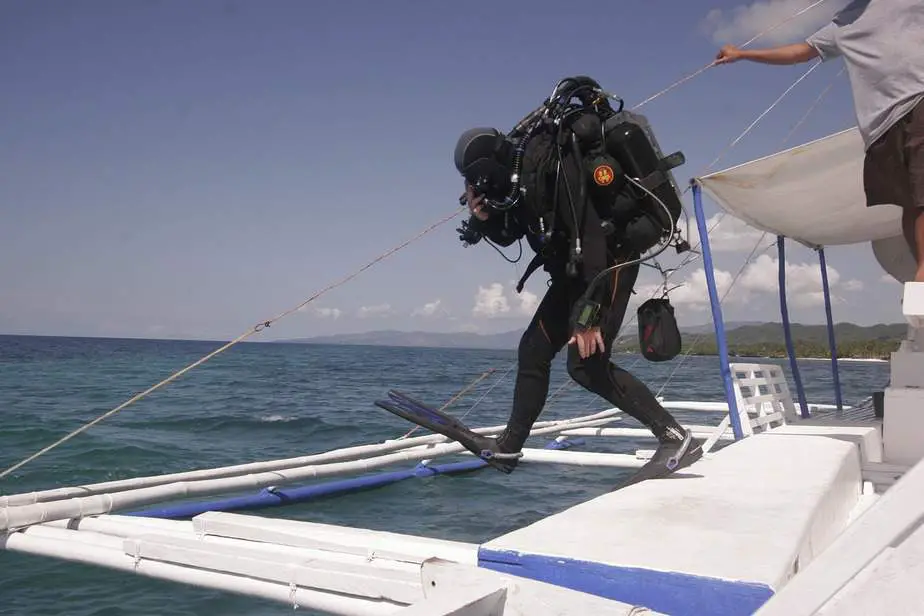
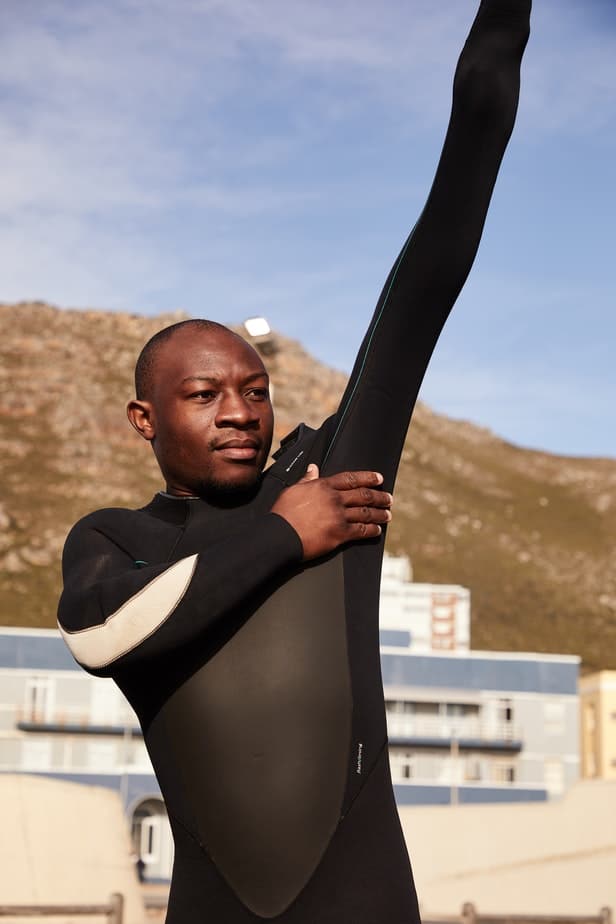
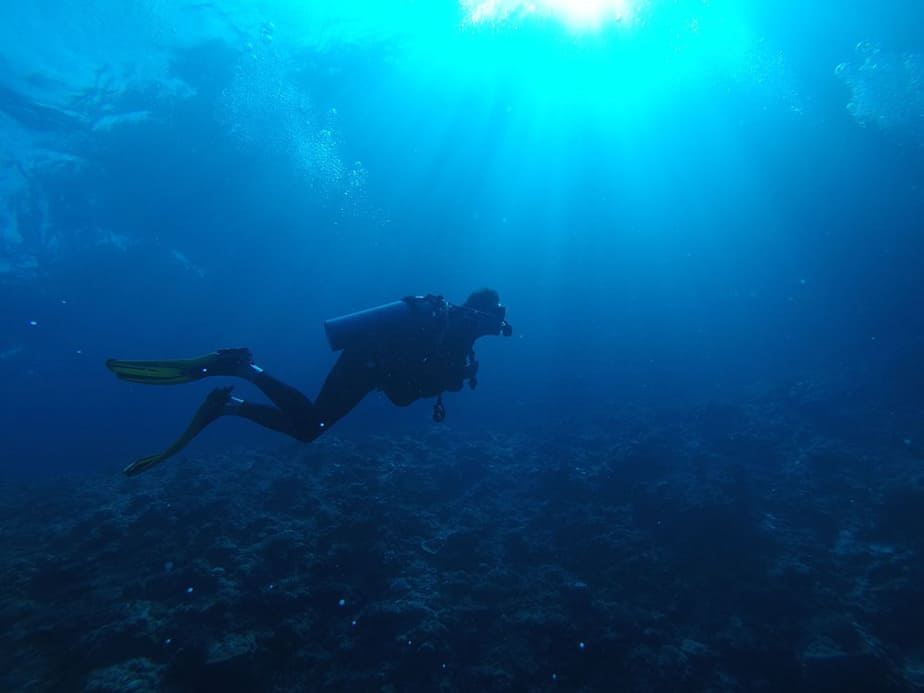
In recent years, the obscure sport of freediving has gone from a niche sport to something that is quite common. Many snorkelers have started practicing skin diving, which is a form of freediving, so that they can get up close and personal with the aquatic life. Many people are also starting to learn freediving properly thanks to the power of internet communities sharing tips and PADI offering an eLearning course.
All of this has resulted in low volume freediving masks to surge in demand commensurate with how popular freediving has started to become. Now dive shops have started offering entire product lines of freediving equipment. This is not without controversy, as many people aren’t even sure if there is a big enough difference between a freediving mask vs. scuba mask.
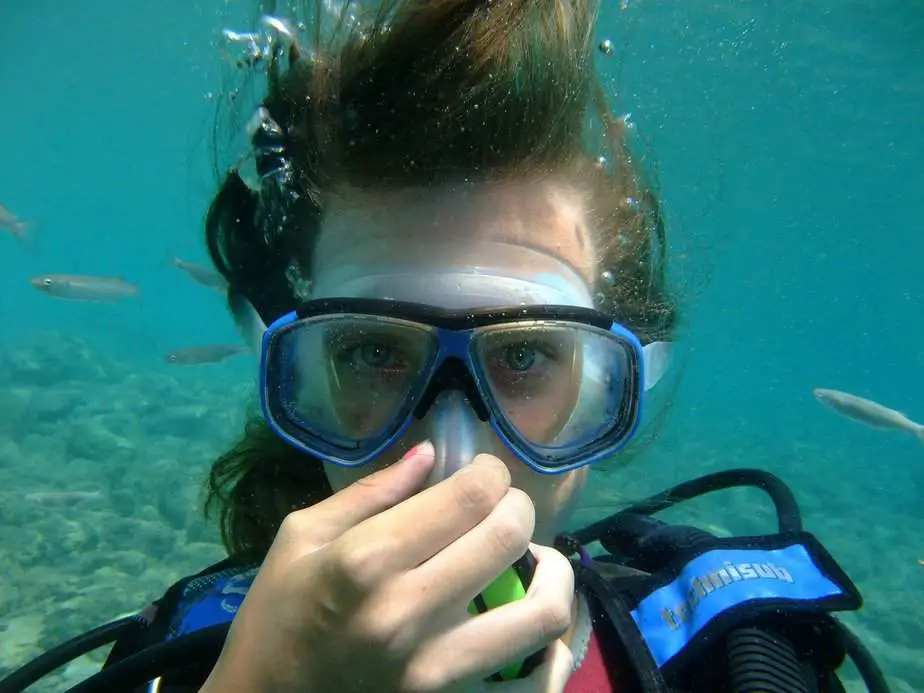
Is a freediving mask just another fad that is hyped up by a marketing ploy to wrest your hard-earned cash from your hands? Or are freediving masks truly worth the money and something that not only freedivers or spearos, but even scuba divers and snorkelers can benefit from? There really is a noticeable difference between a low volume freediving mask and a regular scuba mask. Freediving masks are more compact, lightweight, and hold less volume. The benefit of this is that it’s significantly easier to clear and equalize, helping you save precious oxygen.
If you are serious about freediving, you need to get yourself a freediving mask. Read on to learn about our recommendations for the best freediving masks, as well as learn more about how freediving masks differ from scuba masks.
Our Top Picks:
Sale
Best Low Volume Freediving Mask Recommendations
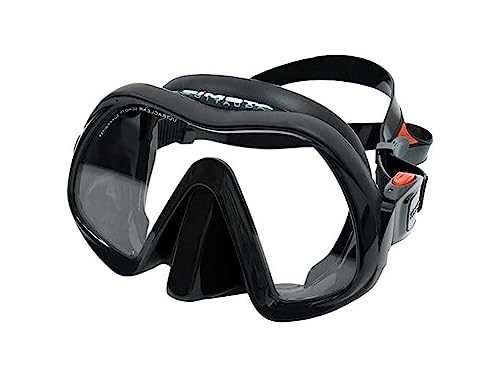
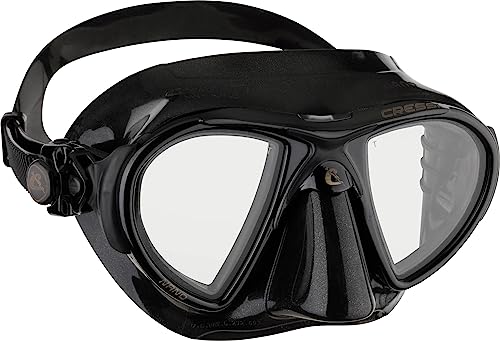
Cressi Nano
Sale
Cressi Nano Crystal, Black/Black (DS365050)
- Innovative mask for scuba diving and advanced freediving, designed to offer an extremely hydrodynamic and compact shape. Cressi has developed this...
- It is the mask on the market with the lowest internal volume (12.86 in2 | 83 cm2), an ideal requirement for freediving lovers. Completely flexible,...
- The Patented Integrated Dual Frame Technology consists of the joining of two rigid frames producing a drastic reduction in the internal volume....
You can’t go wrong with Cressi, and their low-volume Nano mask continues their track record of excellence. The first thing we noticed when diving with it was a complete absence of fog without applying any anti-fog treatments on it such as burning the lens with a lighter or brushing it with toothpaste.
The Nano features inverted teardrop lenses which enhances visibility and keeps foggint to a minimum. Very rarely do masks have this level of cleanliness out of the box, and even if the Nano starts to fog up, you can apply the above treatments to remedy it.
Next, the Nano adheres very well to most faces thanks to the soft silicone skirt that provides optimal comfort with a small degree of rigidity for a tighter seal. Some users with wider faces have found the Nano to be too small for them.
Underneath the silicone material for the Nano are “veins” which help the skirt maintain its structure. Even after hours in the water wearing the Nano, there were hardly any imprints on the face.
With that said, getting adjusting the straps to the optimal position took some time. The release system used for the strap requires lifting a level which does not bode well for easy calibration of the strap length once the mask is on your face. In other masks, such as the Seac M70 and the Salvimar Noah uses a two-button solution which we found to be a superior release system.
True to its name, the Nano is very compact with a low internal volume. Based on our measurements, it has an average internal volume of 100mL. Cressi has managed to achieve such a low internal volume without sacrificing the mask’s field of view. There are hardly any blind spots, and it’s very easy to see in nearly all directions. The Cressi Nano is yet another solid product from a reliable manufacturer.
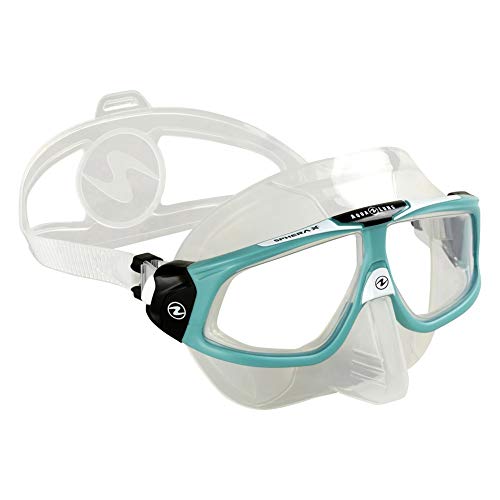
Aqua Lung Sphera X
AQUALUNG Sphera X Mask - Clear/Glacier
- 180° distortion-free panoramic vision thanks to the exclusive Curved Lens Technology
- Plexisol lenses with special anti-fog and anti-scratch benefits. UVA/UVB protection
- Advanced Fit Technology (AFT) enhancing the sealing features of the silicone skirt, improving fit, comfort and feel. Easy adjustable buckle system
The Aqua Lung Sphera X has a hydrodynamic design with excellent 180-degree visibility that makes it a solid choice for freedivers and spearfishers. The lenses come coated with anti-fog as well as scratch-resistant layers. However, these lenses are made of plastic, not tempered glass, which some divers find disappointing.
However, its extremely low volume makes it irresistible to serious freedivers. Many professional freedivers value the low volume above all else, however for newer divers, they can feel uncomfortable with how compact the mask is. If you’re used to wearing scuba masks, you may experience claustrophobia when wearing the Sphera X.
The plastic lenses on the Sphera X are durable, however it simply cannot compare to the durability of tempered glass lenses on the likes of the Mares Viper and the other masks in this list. The skirt is constructed with crystal silicone which gives it a firm, yet comfortable seal.
Aqua Lung is a reputable company and their masks last a long time. The Sphera X has many improvements over the original Sphera, such as improved strap quality and overall more resilient materials. It even comes with an EVA box for easier packing.
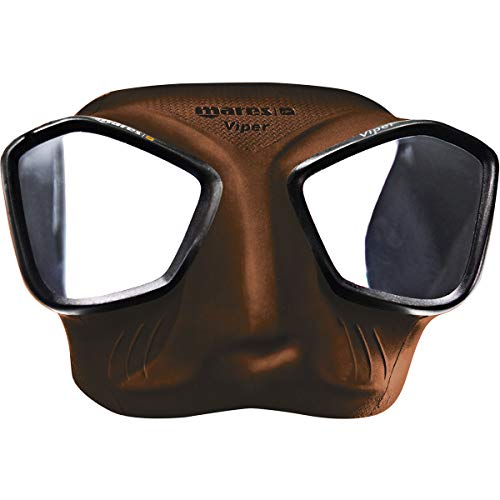
Mares Viper
Sale
Mares Viper Mask , Brown
- The product's latest-generation silicones deter condensation
- Ergonomic buckles with double buttons on the skirt enable the strap to be adjusted precisely
- Dedicated to the most demanding free divers and spear fishermen
The Mares Viper freediving mask was made possible thanks to collaboration with the world’s best freedivers and is specially made to meet the needs of the most demanding spearfishers and freedivers. The standout features of this mask are its excellent hydrodynamics for reduced resistance underwater, ergonomic design that fits most faces, comfortable strap that is easy to adjust, and highly durable and fog-free tempered glass lenses.
If you’re a spearo and you are looking for a new mask, you should seriously consider getting this before your next trip. The Mares Viper is also great for freedivers who just want to glide through the water, and the hydrodynamic design makes this possible.
Thanks to the frameless design, the Viper is exceptionally low volume The silicone used in the skirt construction is durable and seals tightly on most faces. The strap also contributes a lot towards overall comfort. It is equipped with ergonomic buckles and double-buttoned to help you get the optimal fit.
The issues that the Viper has are not unique to this mask specifically . Some divers have complained about leaking around the nose area. Unfortunately, if you have a mustache, you may need to shave the 0.5mm off to provide a smoother surface for the mask to seal on your face. Also divers with round faces find it hard to get a good seal. Unfortunately, due to the compact design of freediving masks, this is par for the course.
What most divers like about the Mares Viper is its low volume, hydrodynamic design which helps tremendously with equalizing and descending. It’s also comfortable and suited for small and narrow faces. If money is not a deciding factor, then consider purchasing the Mares Viper over the Sphera X.
Cressi Superocchio
The Cressi Superocchio is a classic freediving mask that was one of the first to hit the market. As such, we know it is reliable and time-tested. To be honest, it does look a bit dated nowadays, but when you’re freediving, do you really care about looks or utility?
Here are some of the reasons why you should consider using this classic mask in modern times. First, it has a durable construction that still holds up to today’s low-volume masks. It seals comfortably and snugly on nearly every face. We already know it’s reliable considering how long ago it was released and the fact that freedivers are still using it.
With that said, it’s not perfect. For starters, it does look like a relic from the past. Furthermore, it’s not quite as low-volume as some of the other freediving masks in our list, and it’s field of view is not as good either. However, the Cressi Superocchio does cost significantly less than most low-volume masks, making it a sweet deal overall.
Let’s talk about how this mask holds up. Its skirt is made of durable silicone that forms a strong seal on your face. Many freedivers have reported using this mask for years with no leakage issues. The skirt is flexible with some extra depth so the mask can contract and expand due to the pressure changes without putting this pressure on your face. The frame feels completely solid and is durable as well.
However, since the mask skirt has some extra depth to it, it does mean that it’s not as low-volume as possible. If getting the absolute lowest volume is your priority for ease of equalization, then the Superocchio is not the optimal choice.
The skirt depth may cause another issue: distortion. Compared to other low-volume masks, especially frameless masks, you’ll notice that the lens is slightly farther away from your eyes. This distance restricts your field of view somewhat resulting in tunnel vision, while also introducing a slight distortion to the image you are seeing.
As you can see, this mask is far from perfect, yet it still makes it onto our list because it is a no-frills mask that is very affordable and should serve most recreational divers well. It loses points against modern masks such as the Mares Viper or the Aqua Lung Sphera X due to its dated looks.
However, the Cressi Superocchio has proven itself to be durable and leak-proof and it will serve you for years. Seriously, some divers claim they’ve been using their Superocchio for 20 years and they only needed to replace the strap a couple of times. Whatever downsides this mask has is more than made up for by its longevity and price.
Omer Zero Cubed
The Omer Zero Cubed is the result of a collaboration between legendary freediver Umberto Pelizzari and award-winning Italian designer Momo design. Right off the bat, we need to address its style. You’ll either love it or hate it. The Omer Zero Cubed makes you look like a superhero. Maybe it’s so good that it gives you superhuman performance? Let’s go over what it offers.
The Zero Cubed wouldn’t be on this list if it wasn’t a low-volume mask. What makes it unique is how the lenses are positioned at an acute angle which helps it achieve a lower volume without any loss of field of vision.
Also, where in most divings masks you would have to equalize at a depth of around 30 feet due to mask squeeze, with the Zero Cubed it’s different. According to Omer, due to its low volume, you will not feel the need to equalize until you have reached a depth of 60 feet. If you are using this mask for snorkeling or skin diving, that means you probably don’t need to worry about equalizing.
Next, the mask pocket is made of soft rubber that allows for one-handed equalization which is helpful for divers who have equalization issues. For improved hydrodynamics, the strap buckle is attached onto the skirt. The skirt itself has a textured matte finish which provides extra grip on your face and helps to reduce glare slightly.
As of now, the Omer Zero Cubed is a relatively new dive mask that seems to tick all of the right boxes. However, as more divers field test it, we’ll get a more accurate look at whether it can truly be considered one of the best low volume dive masks. Omer is a well-known brand and their other masks, the “Alien” and “Up” masks are similarly well-received.
Unfortunately, this mask is one of the most expensive masks on our list. Furthermore, some complaints have been made by customers regarding the buckles breaking off, but perhaps they were just isolated incidents.
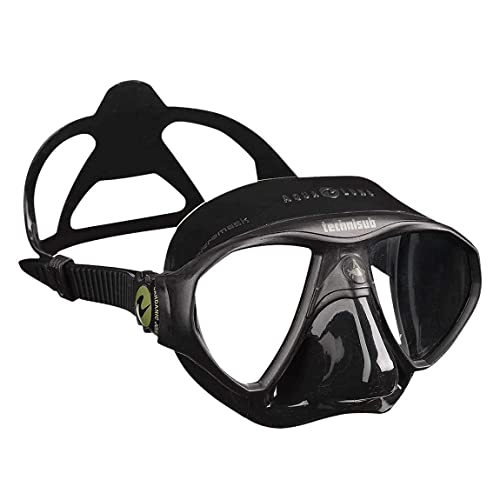
Aqua Lung Technisub MicroMask
As the name suggests, the Aqua Lung Technisub MicroMask is very light and compact, yet somehow it manages to fit most faces. How? It has to do with its excellent skirt design. Made of high-quality silicone, the skirt is elastic and flexible and will adhere to your facial contours to give you a leak-free underwater experience.
Next, the Technisub can provide a wider and more natural field of view because of how its lenses are installed in an ocular orbit. It basically just means it has a more ergonomic design that takes into account the positioning of the diver’s eyes and the lenses are positioned to provide the maximum field of vision.
The compactness of the Technisub keeps drag to a minimum, makes equalizing a breeze, and can be packed for travel easily. The mask locks in place with the Cardanic Joint Buckles that rotate in all directions and also gives you the option to adjust its tightness to a precise degree. This mask is easily a top-tier low volume mask, and it commands a very high price as well.
Low-Volume Diving Mask Buying Guide
Material
Typically, the best freediving masks are made of silicone. Silicone is a flexible yet durable material that is water-resistant, stretchable, and comfortable to wear on your face. It’s also unlikely to break, get cracks, or snap under immense pressure. Silicone is also chemical-resistant, which is great if you plan on practicing apnea in pools with chlorine or may wash it with chemicals from time to time.
When looking for a mask made of silicone, you need to find one that is the right balance between strong but not too hard on your skin. It obviously must also form a tight seal against your face so that water will not leak in.
With that said, if you have long hair or facial hair that sometimes gets in the way of the mask seal, then you might consider getting a mask with harder silicone. The hard silicone will completely flatten your beard, preventing water from entering. This is not as comfortable, however you can try using a sofer silicone mask and following these tips for a tighter seal.
Color
You can get freediving masks in all kinds of colors, but what we’re really interested in is the color of the mask skirt (the silicone flap that is attached to the frame or the lens directly in a frameless mask that seals against your face). Typically, you want your mask skirt to either come in black or clear.
Black skirts will do the best job at protecting your eyes from the sun’s bright rays by blocking your peripherals better. This has obvious downsides as well. By focusing your vision to what is directly in front of you, you will have a more refined but narrow view of the underwater world. This can be useful for underwater photography.
On the other hand, black skirts will give you “tunnel vision” which means you don’t have any peripheral vision and this can feel claustrophobic for newer divers. If you want the widest, most open field of vision, look for a mask with a clear skirt.
Masks with a clear skirt lets you see through it and will provide the most well-lit diving experience. Since low-volume masks tend to have the frame really close to you, it really exacerbates the claustrophobic feeling. With a clear skirt and the wide vision it provides, it can do a lot to alleviate anxiety. Unfortunately, it also means that it can be blinding in sunny weather, and your vision won’t be as focused.
Fit
No matter what type of mask you get, it needs to have a snug yet comfortable fit on your face. There are three things you should be looking out for specifically:
- Check if the mask skirt is large enough to comfortably seal around the edges of your face.
- Ensure that the bottom of the mask comfortably covers your nose and seals against the upper lip area.
- Determine if the mask fits the general shape of your face. Some masks are designed for narrow faces, others for wider faces, etc.
Unfortunately, it is hard to determine the right fit if you are purchasing online. You will either need to go to a physical store or be willing to return the mask for a different one. If you’re shopping from a store like Amazon with a no-questions asked return policy, this is not as much of an issue. Also, if you already know that a mask fits you but you want to reorder it, then buying online is fine in this case.
Buckle strength
Another factor to consider in your freediving mask is how durable the buckles are. You should be able to pull on the buckles and straps of your mask without them sliding around out of place. The buckles should be adjusted tightly enough so that the mask stays on your face and no water leaks in (however, the straps should NOT be digging into your skin).
If you plan on attaching a snorkel to the mask strap, then clip it tightly and the strap should be a bit tighter to compensate for the possibility of the snorkel breaking the seal on your mask.
Lens size
This depends on personal preferences. If you would rather have a much wider field of vision, then look for masks where the lens is bigger, or get masks where the lenses are closer to your face. The size of the lenses will also affect how easy it is to install prescription lenses, but you can also try wearing contact lenses if you are having difficulty seeing underwater.
Air volume
For freediving especially, you want a low-volume mask. Low-volume masks need less air to equalize to prevent mask squeeze. Furthermore, since air is positively buoyant, having less of it means you will be less positively buoyant which makes it easier to descend.
In order for masks to be low-volume, the design necessitates that the lens will be closer to one’s eyes. This increases the field of vision since there likely won’t be much of a mask frame blocking your peripheral vision.
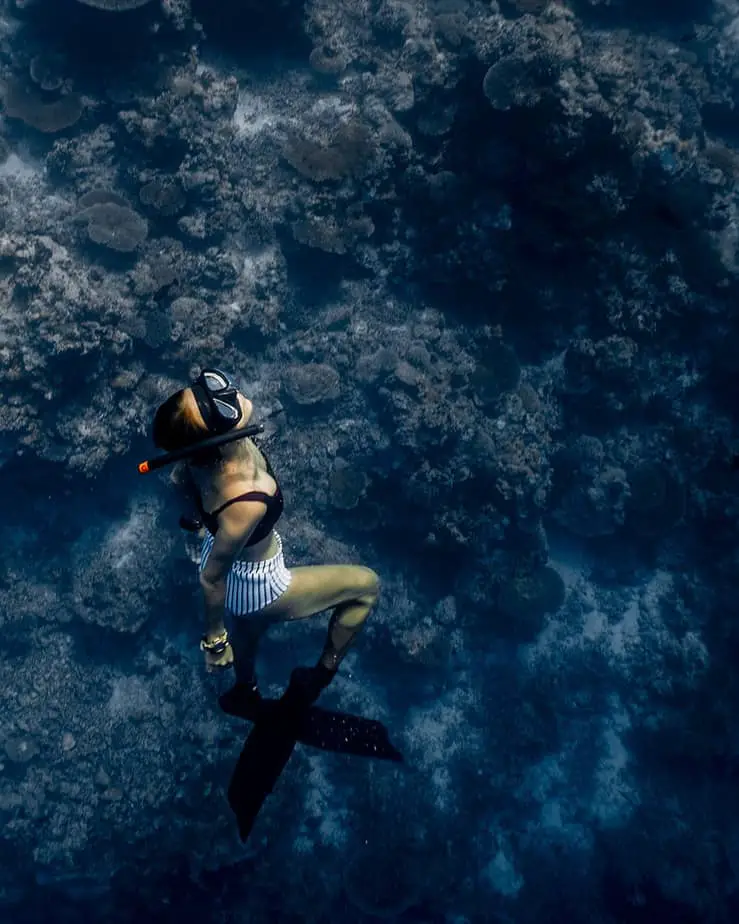
Who benefits from using a low-volume dive mask?
Prior to low-volume freediving masks’ increase in demand, these masks were almost exclusively worn by freedivers and spearfishers. For these sports, they consider “low-volume” to be 100 mL or less. Nowadays, with manufacturers modifying the design for snorkelers and scuba divers, the definition is up for debate.
There are entire product lines of low-volume masks, and what was once simply a “low-volume” mask for freedivers is now sometimes called low-profile, ultra-low-volume, or micro-mask to distinguish them from other models for scuba divers or snorkelers. How does each sport benefit from a low-volume design?
Low volume masks are the optimal choice for anyone who wants to conserve their breath when equalizing and also wants a mask that is easy to clear. Clearly freedivers and spearfishers have the most to gain from this, however basically any diving sport can benefit from this design.
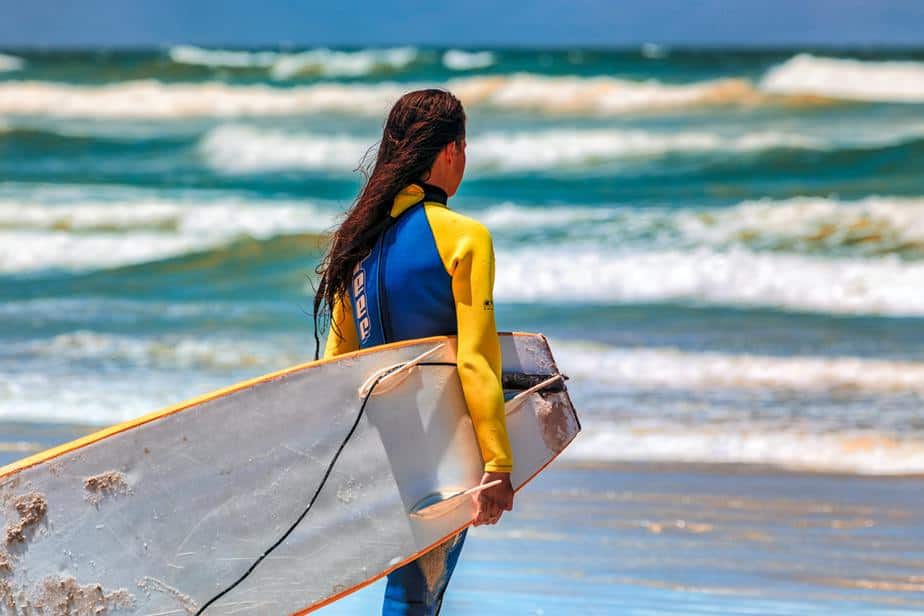
Freedivers and spearfishers
As we mentioned, low-volume masks are essential for apneic (breath-hold) sports because very little air is required to equalize the mask at depth.
Spearfishers, freedivers, and skin divers dive numerous meters while holding their breath. As the water pressure increases due to depth, the air inside the mask will compress and squeeze tightly against the face. To address this, the diver must exhale some air from their nose to equalize the air inside the mask to make up for the lost volume. Since low-volume masks have less airspace, the diver does not need to sacrifice as much air for the sake of preventing mask squeeze.
Some masks have internal air volumes as low as 75 mL. Some extreme freediving and spearfishing enthusiasts have some DIY solutions to reduce the air volume even further. They will put special inserts inside and decrease the volume to as low as 20 to 50 mL.
Since freediving masks have such a low-volume design, they tend to be sleeker and more compact than dive masks which scuba divers and snorkelers use. They are easier to pack, carry, and typically offer wider fields-of-vision that surpass large-windowed masks.
With the increasing popularity of freediving masks, scuba divers and snorkelers have started wondering if they could benefit from wearing a low-volume mask as well. Manufacturers have even started modifying their designs from the traditional “fishbowl” to a sleeker, low-volume design.
Scuba divers
Freedivers and spearfishers shouldn’t have all the fun. Scuba divers can benefit from wearing low-volume masks too! Scuba divers benefit from wearing low-volume masks because they are easy to clear and are lightweight.
Mask clearing is a skill that some divers hate with a burning passion. Divers who have to do it often, or who have difficulty doing it, should consider getting a freediving style mask. Even when flooded with water, these masks will hold 100mL or less of water. They also have very soft and comfortable skirts.
Many people find clearing low-volume masks to be significantly easier than traditional scuba masks. When masks are easy to clear, the wearer is less likely to waste air, maneuver their head awkwardly, or lose control of their buoyancy as they try to clear their mask.
Since the lens is much closer to the eyes in a low-volume mask, your field-of-vision increases. For instance, low-volume masks tend to have an inverted teardrop lens shape which lends to making it easier to look down without tilting your neck.
This is the perfect design for divers that want to glance down at their gauges without moving their head position. Even the peripheral vision offered by low-volume masks sometimes surpass scuba masks with side-panel windows.
Additionally, the low-volume design of freediving masks make them an excellent choice as a backup or spare mask. For example, frameless scuba masks are often used because they fit easily into a BC pocket or can be stuffed in a small pocket in a small gear bag.
Snorkelers and skin divers
Even snorkelers and skin divers can benefit from wearing a low-volume mask. If you have a small and narrow face, it’s much easier to find the optimal fit with a freediving mask because of their compact and lightweight design.
We mentioned previously the wide field of vision that these masks provide, which improves the snorkeling experience immensely. When snorkeling, you’re not supposed to move your head so you want a mask lens that lets you see in all directions by simply moving your eyes.
Furthermore, advanced snorkelers will also skin dive. Skin diving is similar to freediving in the sense that both are breath-hold dives. However, skin divers are not trying to dive as deep as possible like a freediver; they are diving down to leisurely explore the aquatic world and get a close-up view of something they saw while snorkeling. For the same reasons that a low-volume mask is beneficial for freedivers, it is just as beneficial for skin divers.
Lastly, if you’re uncomfortable or claustrophobic and don’t like the feeling of tunnel vision that traditional dive masks evoke, then look for a frameless mask with a clear skirt for the most “open” feeling mask you can get.
Low-volume masks vs. scuba masks – Advantages
| Low-volume masks |
Scuba masks |
| Less air required to equalize. |
Widely available, more options to choose from if necessary. |
| Easier to clear. |
More likely to fit because of their availability and sheer number of options available. |
| Compact design – easier to pack for travel, reduces drag underwater. |
The higher volume means if water does enter your mask, it won’t reach your eyes as fast. |
| Tends to fit small and narrow faces better. |
Less claustrophobic due to the higher volume. |
| The close positioning of the lens is optimal for prescription lenses. |
Generally more durable and affordable. |
Low-volume masks vs. scuba masks – Disadvantages
| Low-volume masks |
Scuba masks |
| Due to the close proximity of the lens to one’s eyes, it can feel restrictive or claustrophobic. |
Bulky design increases drag underwater, and the extra surface area means strong currents can latch onto the mask and break the seal. |
| Can be difficult to fit on larger faces. |
Higher volume increases buoyancy and means you need to equalize more airspace. |
Do you need a freediving mask?
As you can see, there are many situations where a low-volume mask can benefit sports other than freediving. That doesn’t mean that traditional scuba masks don’t have their advantages, but for many, low-volume masks are the superior option.
With that said, you do not need a freediving mask to freedive. If you’re just starting out, you can certainly freedive with just a scuba mask if it’s more affordable for you. However, if you plan on getting serious with freediving, then you’ll realize that the easier equalization provided by a low-volume mask is crucial.
If you’re just starting out, you may be able to get by with just a scuba mask until you’ve passed 25 m (80 feet) deep. Beyond that, the water pressure will start to become a major issue and you will be better served with a low-volume mask.
With that said, if you’re just starting out, we think you should just invest in the proper freediving gear right off the bat. Not only is this safer, but in the long run you will be better off because you’ll be familiar with the gear and don’t need to transition to a different mask. Having the proper gear will also motivate you to fully immerse yourself in this sport.